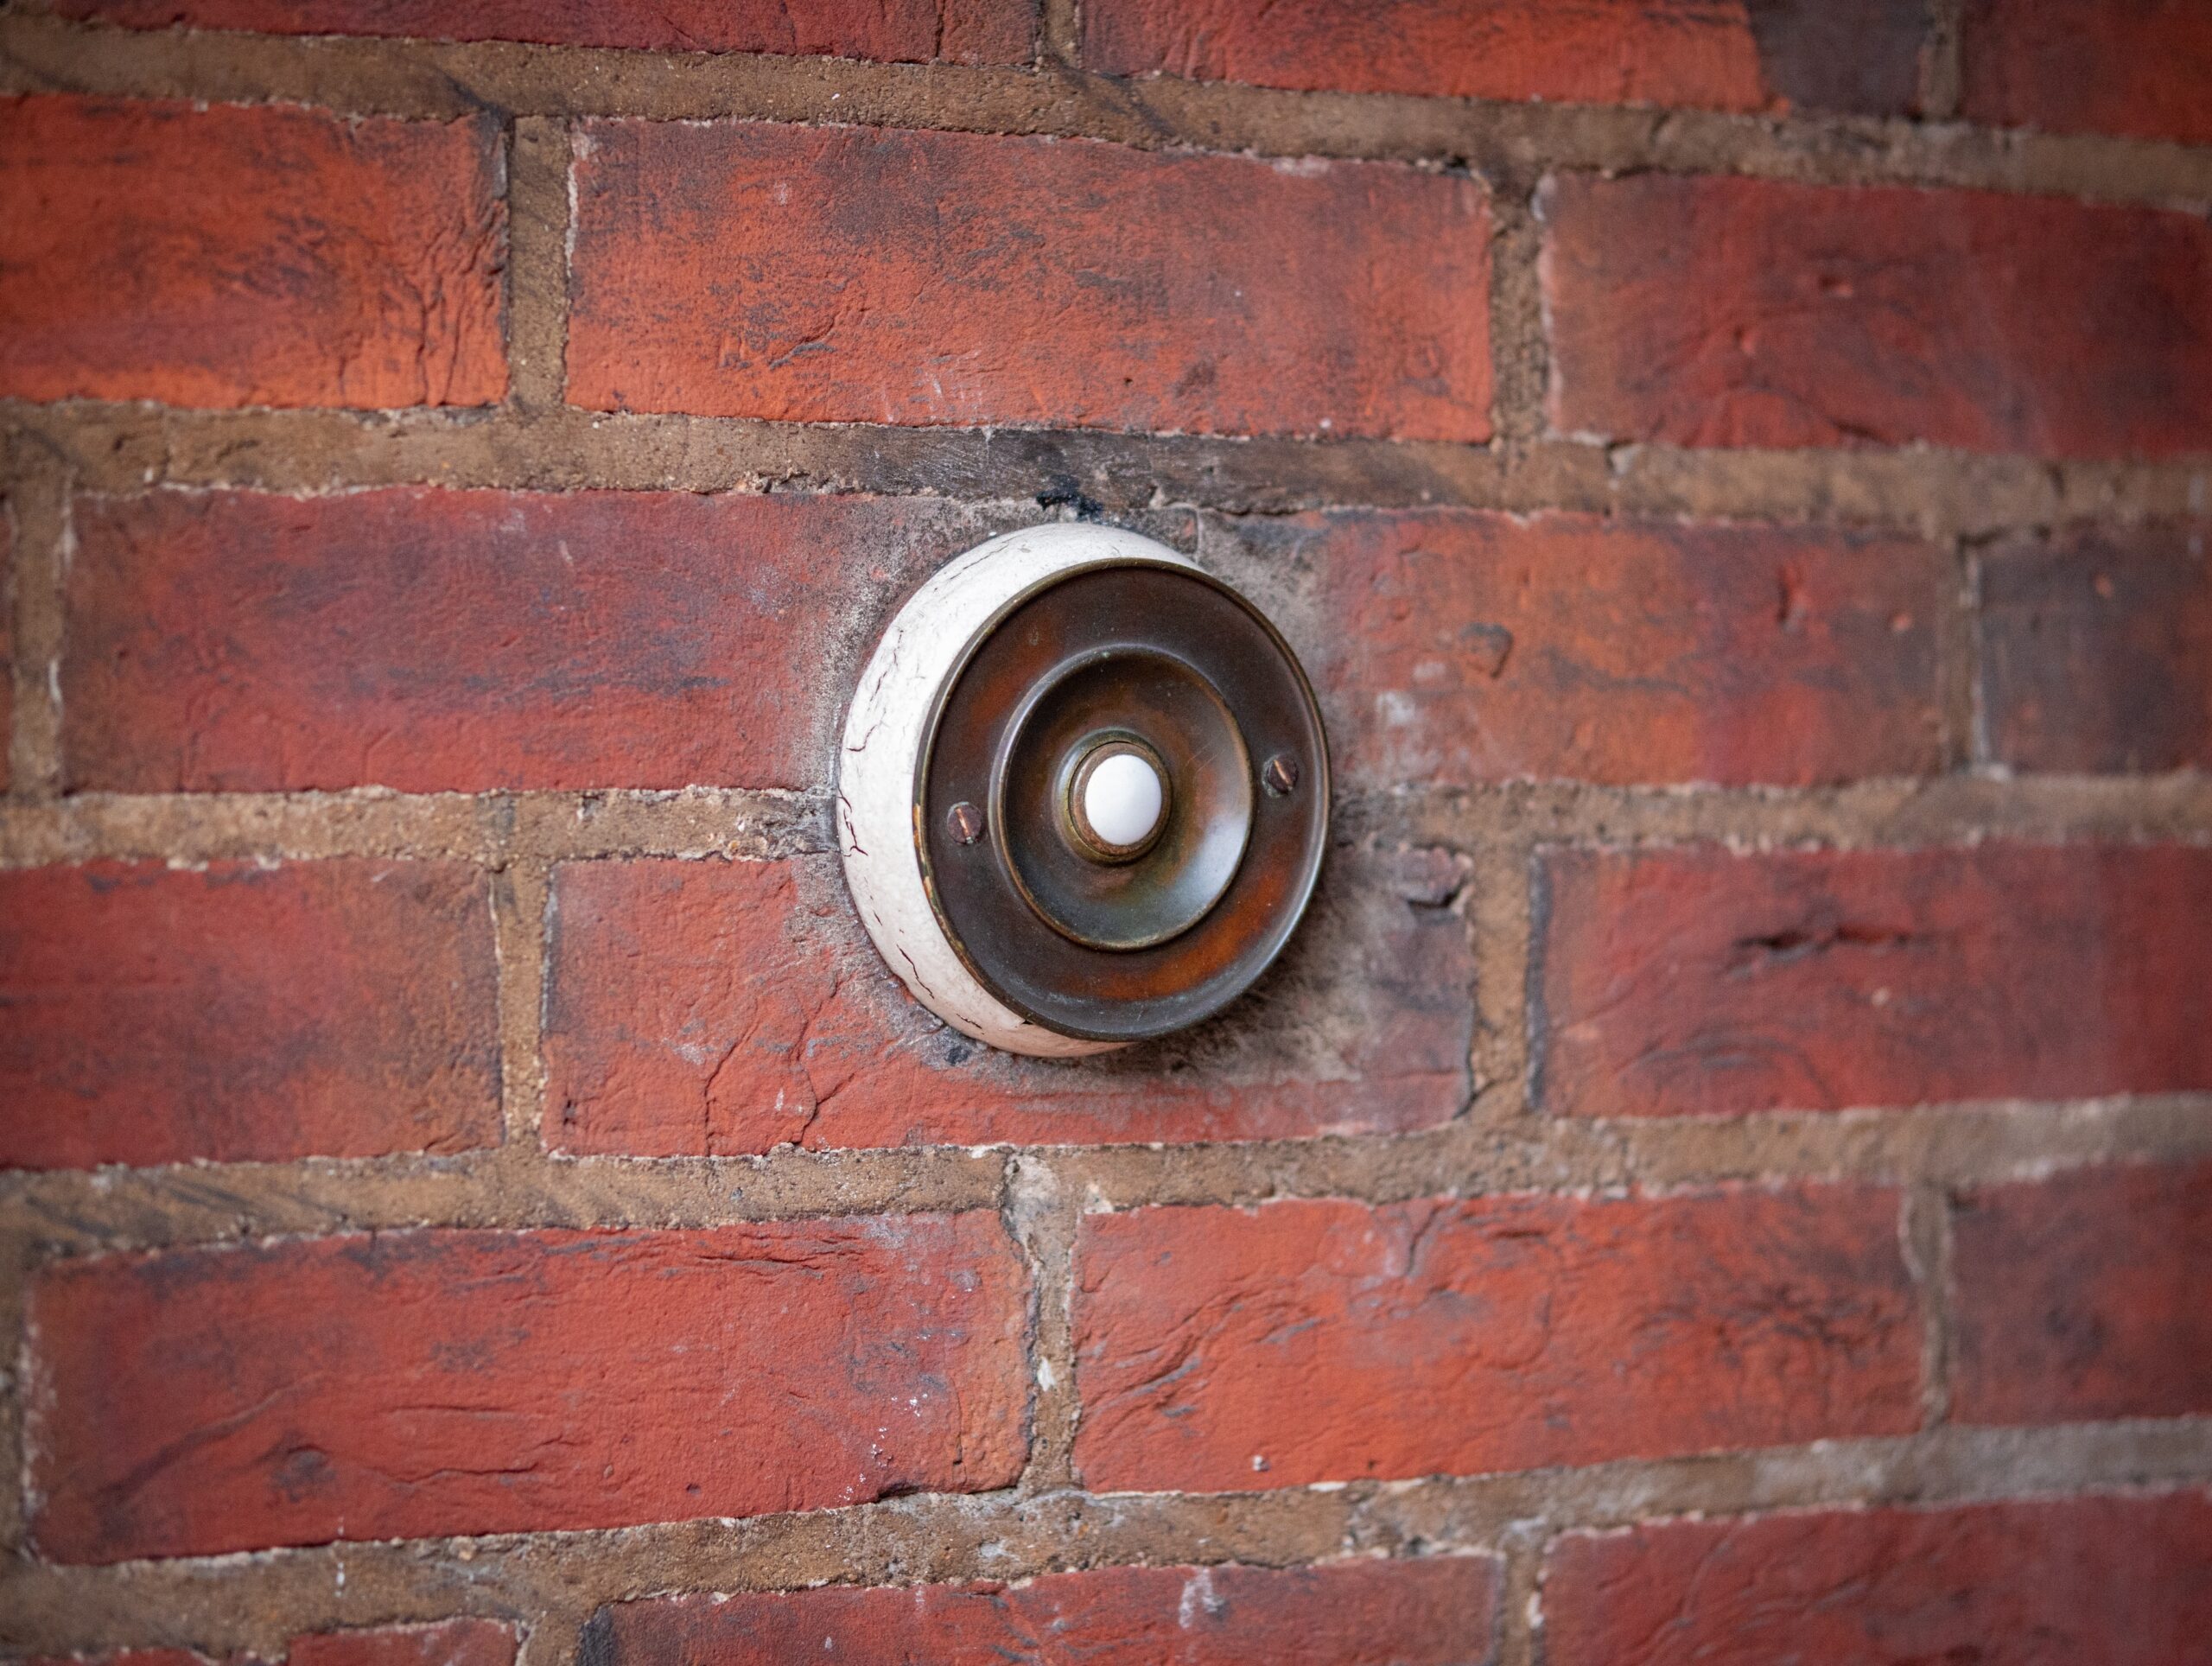
It’s a good idea to develop your doorbell installation skills. A broken doorbell can be replaced, or you can upgrade to one with a brand-new look and sound. Keep in mind that there are three primary types of doorbell options available today before we dive right into the doorbell-install instructions: hard-wired, wireless, and smart doorbell. You can install a doorbell for each of these varieties of ringers using the detailed instructions provided below. Please keep reading.
How To Install A Wired Doorbell?
Supplies
- Doorbell transformer (optional)
- Doorbell chime
- Doorbell button
- Multimeter
- Screwdriver
- Non-contact tester
Steps
- Use the wires you earlier taped aside.
- The two screws on the back of the doorbell button are used to attach the two wires to the buttons. Loosen the screws just a little to accomplish this. Each wire should be wrapped around a screw. Once the wires are in place, tighten the screws.
- If the screw holes on the old doorbell are too large or do not match those on the new doorbell, you will need to patch the wall and drill new holes in order to mount the doorbell.
- If you have a doorbell cover, you should install it by putting it over the button and following the manufacturer’s instructions.
- Power should be turned back on at your home’s circuit breaker if you are not replacing the transformer or chime unit.
- Examine the doorbell button.
How To Install A Wireless Doorbell?
Going wireless is frequently the best choice if the house does not already have doorbell wiring. For homeowners who prefer the idea of a portable chime box they can place in any room, a wireless doorbell is also a good option.
An inexpensive wireless unit can cost more than $500 and start at around $15 for a simple door button and plug-in chime box. Although the installation is very simple, removing an old doorbell may require some skill.
Supplies
- Electrical tape
- Wireless doorbell kit
- Multimeter
- Screwdriver
- Non-contact tester
- Drill
- Drill bits
Steps

- Decide where to put the doorbell receiver. The maximum distance the receiver can be located from the door button can be found in the specifications of your doorbell. As a chime device, the receiver should be placed in a place where it can be heard easily.
- Enter a regular electrical outlet with the receiver. If you have additional receivers, locate them and plug them in.
- Put the batteries in the receiver if it runs on batteries, then use the screws from your installation kit to mount it to a wall or wherever you like.
- Install the doorbell button mounting bracket at your front door. Use the screw holes left over from your previous doorbell if you can. If not, fill in the old screw holes with patching material.
- Replace the doorbell button’s batteries.
- Connect the mounting bracket for the doorbell button to it.
- Check the manufacturer’s instructions to see if you have to set a code on either one or both, of your doorbell’s units, as some wireless doorbells have coded transmitting and receiving units to block interfering frequencies.
- Test the doorbell.
How To Install A Smart Doorbell?
Users of a WiFi-enabled doorbell can view visitors on their smartphone or computer by connecting the device to the wireless router in their home.
Optional features include cameras with or without night vision, intercom functionality, and motion sensors that alert a user’s smartphone when someone approaches the door. Depending on the extras chosen, smart doorbell prices can range from $150 to more than $1,000.
Step 1: Attach Wires And Install The Mounting Plate
The installation of smart doorbells can be done wirelessly or wired. The wireless installation offers the greatest degree of flexibility but requires more frequent battery charging. Both installations are relatively easy—that is, the wired doorbell installation is easy if there are wires already in place.
To mount a smart doorbell, place the mounting plate over the wires, mark the locations for the screw holes on the wall or casing, and then take the plate off.
Obviously, since you are installing a wireless smart doorbell, you are not constrained by wires and can put the mounting plate anywhere you want.
Drill the pilot holes for the screws using a small drill bit. Using the screws that came with the doorbell, attach the plate to the wall. For installations requiring wiring, attach the wires to the terminals in accordance with the manufacturer’s instructions.
Step 2: Involves Connecting The Smart Doorbell To Your Wi-Fi And The Manufacturer’s App
Connect a smartphone and the button unit to the Wi-Fi router in the house. Depending on the manufacturer, you may need to download and install an app on your phone to be able to remotely operate and view the features of the doorbell. If you finish this, you’ll be able to check your doorbell from anywhere.
Final Thoughts
It’s not particularly difficult to learn how to install a doorbell of any kind. Although there are differences between wired, wireless, and smart doorbells, the installation procedure is fairly simple. You can update the doorbell at any time in your home now that you understand how to install any kind of doorbell.
